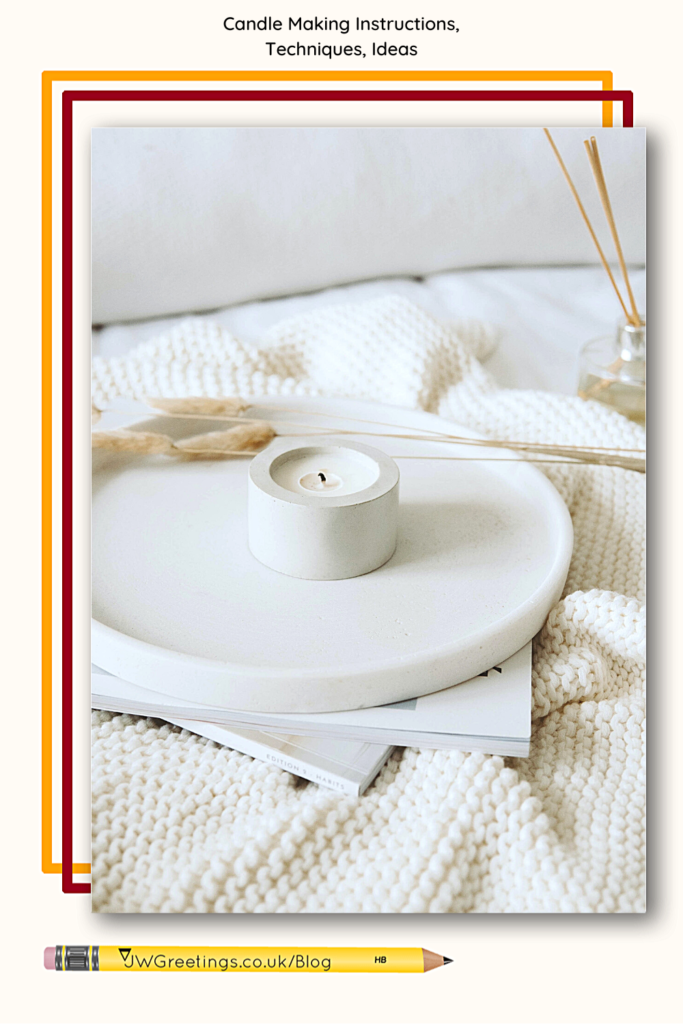
Candle Making Instructions, Supplies, Techniques, and Ideas
Candle making is an art form that can be a hobby or a business. After learning a few basic instructions on how to make pillar candles a whole new world can be opened up. While the hobby of candle-making itself can be profitable it can also be rewarding. Many beginner candle-making hobbyists start with container wax candles which are the easiest to make. You can also use wax flaskes which makes the process so much easier.
Candle Making Supplies
Items needed to make pillar candles:
- wax melter
- wooden spoon
- metal measuring cup or pourer
- candle molds
- candle wicks
- wick pin
- mold seal
- wax flakes
- candle color (optional)
- scent (optional)
- 1 pound scale (for weighing wax and scent)
- knife
- newspaper (to cover work area)
PIN FOR READING LATER
Candle Making Instructions
The most convenient way to melt wax is to either use a pot that you no longer need. Or use a glass mixing bowl over a pot full of water. You would melt the candle wax like chocolatiers melt chocolate. You will need a thermometer to check the temperature. Don’t rush this part you don’t want to burn the wax. Melt the wax to a temperature of 50 degrees. Weigh the wax flakes on the scale. This is a very important step. Knowing the weight of the wax will ensure the correct amount of scent will be added later.
While the wax is melting, begin preparing candle molds. Molds with wick holes in the bottom are the easiest for beginners. Work a small ball of mold seal about the size of a kidney bean between fingers until pliable. Wrap the mold seal onto the bottom of the wick pin and insert the wick pin into the hole in the bottom of the candle mold. The mold seal will serve to keep the hot wax from leaking out around the wick pin until cool. When the wax is melted completely turn the temperature control off. Let cool slightly.
This is the time to add the colour if you choose to. Colour comes in liquid and block form. Add color a little at a time and stir. The more color used the darker the color. During the Fall and Winter colors can be dark and vibrant while Spring colors tend to be more pastel. Coloring is a trial-and-error process that will become easier with practice. After the colour has been mixed into the melted wax add the scent.
Usually, the scent comes in 8 oz. and 16 oz. bottles. If one pound of wax was melted using one ounce to one and one-half ounces of scent depending on strength of scent desired. Add to melted wax and stir. Use the metal pourer or measuring cup to dip the wax from the pot and pour it into the mold. Do not pour all the wax at once as pillar wax will shrink while cooling and a re-pour will be needed.
When the wax is completely cooled inside the mold the wick pin can be removed easily and the candle will slide out. Place a wick inside the hole and roll the wick down with a pencil to make it coil. The candle is complete and ready to use or give.
Candle-Making Techniques and Ideas
Making a cake or chubby candle is quite simple. Save wax from the candle-making process. Re-melt the wax and let it cool until a film covers the top of the wax. Use a wire whisk or plastic fork to whip the wax-like whipping egg whites. The wax will begin to bubble.
Using the fork or back of a spoon, pick up the bubbled wax and place it all over the pillar candle. It is best to hold the candle by the top and bottom working on the sides first. When the sides are caked, sit the candle down and cake the top.
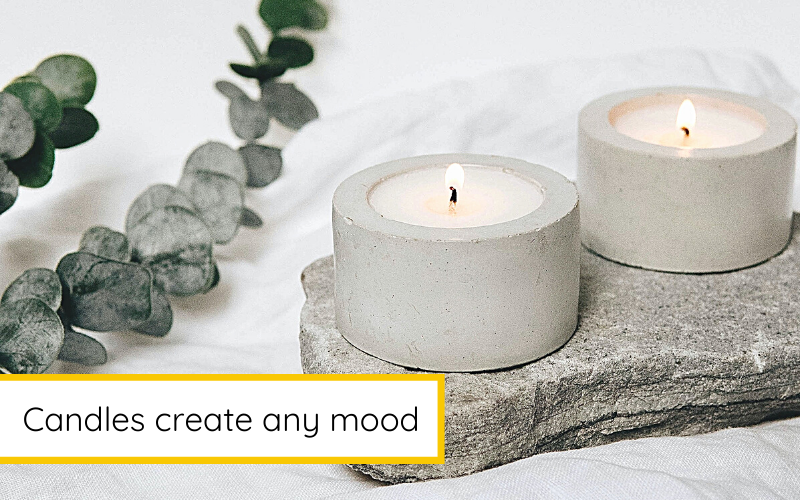
Candles can make a house look homey and smell delicious! They can also be used as gifts or sold to make extra money. When extra income is desired, try selling them at local craft shows or consignment shops. Always add candle-burning instructions with each candle to be sold.
PIN FOR READING LATER